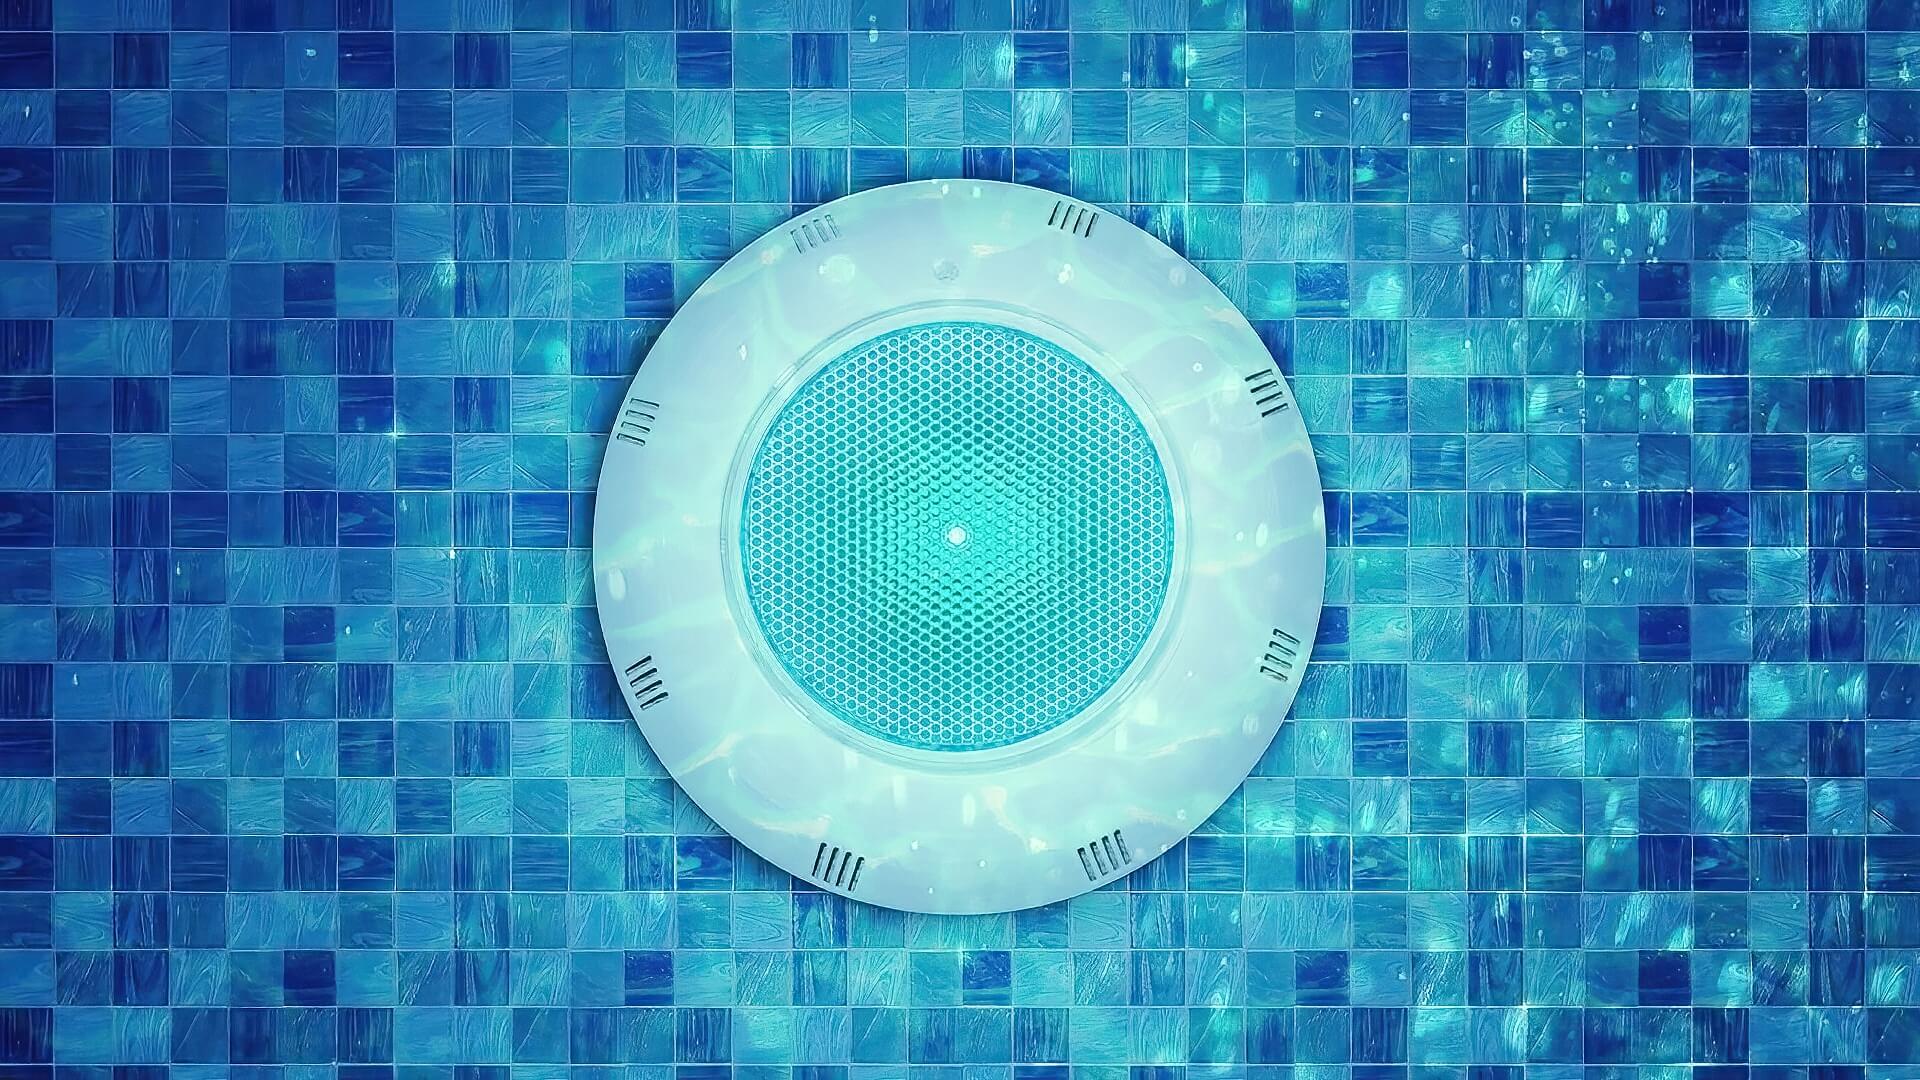
Has your pool light burned out and needs replacement?
It might seem easy at first glance, but changing swimming pool lights is tricky and comes with additional risks. For instance, you might get wet during the process and eventually be electrocuted, leading to muscle spasms, cardiac arrest, burns, and even fatalities.
So, if you are not confident enough to change the pool light on your own, we advise calling upon a professional. It might cost you some extra money, but you will stay safe from any such potential accidents.
However, if you want to get some pool maintenance done the DIY way, you are right. This informative guide provides detailed instructions regarding the steps you need to replace burned-out lights with new ones.
How To Change Your Pool Lights?
A single burned-out pool light is sufficient to make your late-night swim uncomfortable. But the good thing is, there is a fix.
You need to follow the detailed instructions to light up your swimming pool again.

Step 1: Buying New Lights for Swimming Pools
Get a new bulb similar to the one installed. So, consider a few things about the type of light you want, like the bulb, voltage, and wattage. After all, it would be unreasonable to buy a new bulb with specifications different from the one you are using. But if you want to replace your old light with new LED lights, let’s proceed to our detailed guide for installing them.
Along with a new replacement pool light bulb, you will also acquire tools like a screwdriver, terry cloth towel, multimeter, and wires. We’d suggest keeping these accessories handy beforehand, preferably a day before starting the replacement process. This way, you can carry out the process quicker and easier without any hiccups.
Step 2: Remove The Pool Light Fixture
First and foremost, you will need to shut off the main power by looking for a “pool” marked switch on your fuse or circuit breakers. Ensure that it is turned off by switching on the pool pumps.
If they do not turn on, you have turned the power off successfully. It is probably the most crucial step in this process, as it avoids the mixing of electricity and water and negates the risk of getting electrocuted.
Please Note: You are dealing with live electricity. It’s strongly recommended to hire a Sydney electrician to do this job for you.
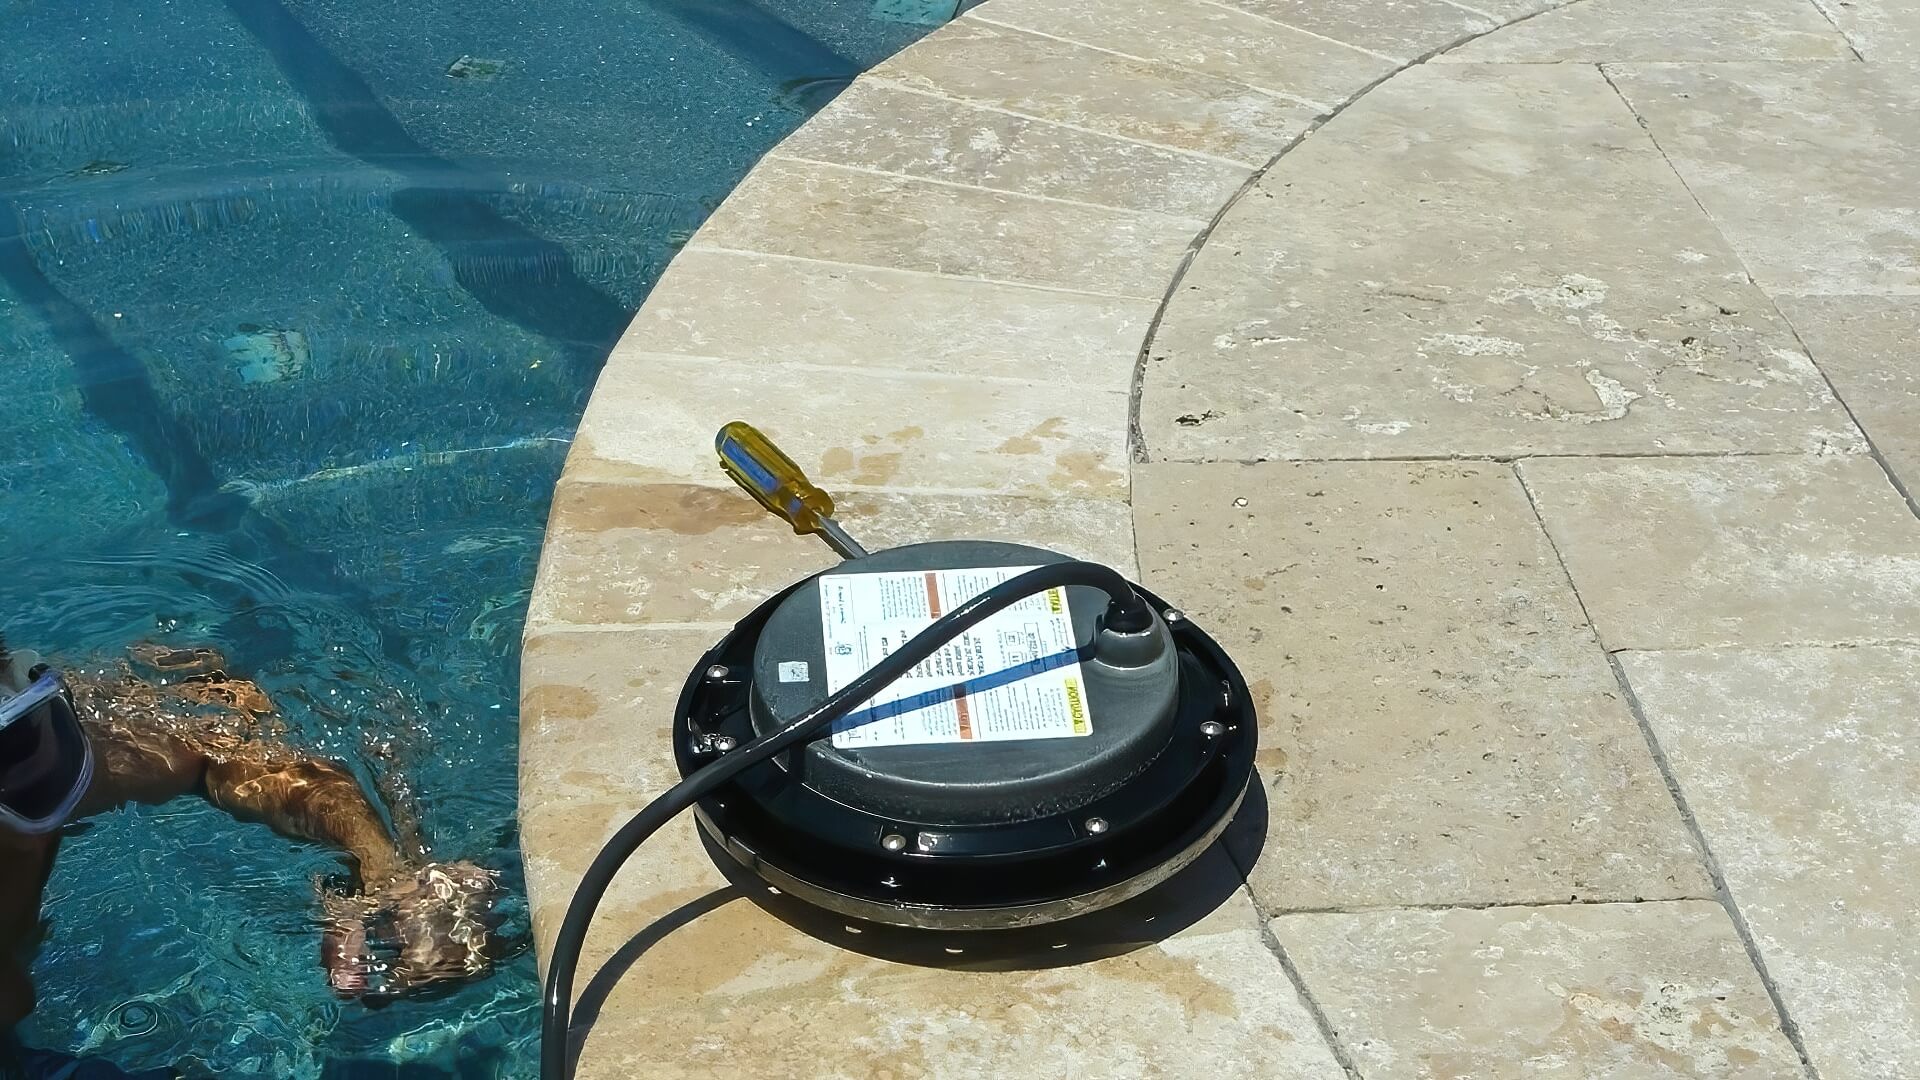
After that, look for a single screw located on either side of the bulbs. In some models, you might find more screws whose primary purpose is to keep the fixture in place. Remove them using a screwdriver or any compatible screw-opening tool accessible to you. Once you remove the screws, the fixture will come out automatically.
Step 3: Replace The Bulb
Before touching any wires or components of the pool light, make sure they are adequately dried. Just use a terry cloth towel to remove any extra moisture. Please give it a final check to ensure a wholly dried fixture. You can use the multimeter to check for any electricity flowing through them. If it’s dead, you are good to go.
Use a towel to grab the old light and untwist it from the socket. Replace it with the one you have purchased by placing it inside the socket and twisting it. Make sure you are using a towel or cloth, as using bare hands can cause premature burnout of the bulb.
Once you have fixed the new bulb, ask someone to turn the power on for a few seconds. This step helps you check if the new one is working. After all, you wouldn’t wish to go through the entire process only to find a malfunctioned bulb later at the pool party!
Now that you have determined that the pool light is working, completely switching off the related main fuse is essential. You shouldn’t compromise a bit on your safety.

Step 4: Reinstall The Fixture
Next, you are now ready to reassemble the fixture. Again, the towel dries the inner to keep it moisture-free. Also, ensure that there is no brittleness or cracks in the gasket. If any damages are visible, change them immediately before reinstalling the light.
After installing the fixture, inspect for leaks. Dip the fixture in the pool to look for any escaping bubbles. Remove and disassemble the fixture, and dry it thoroughly if you find any bubbles. Make sure to test it again until no bubbles exist inside the fixture. Once you’re confident, install it properly by following the abovementioned steps.
Carefully wrap the excess wires around the fixture base to keep them stuffed into the wall without knots or tangles. Once complete, set the fixture back into the wall by aligning the screws with the existing holes and screwing them in. Make sure they are fixed to the pool wall correctly.
Just a reminder that if any of the steps sound difficult or you are not confident about it, don’t hesitate to call a professional to do the job. Electric pool equipment, especially those near water, can be dangerous and difficult to handle if unfamiliar with it.
Changing Your Pool Light
Well, great job- you have just learned how to replace a pool light bulb and saved several dollars. Buy some pool toys or other fun things using the money you just saved!
Now that you have installed a new pool light, you can enjoy those evening swimming sessions with friends and family. If you have installed a multi-coloured LED light, you can even host a pool party. And trust us- you can add another accolade to your DIY resume.
Before signing off, we would like to mention just a few things. Before replacing a pool light bulb, you must ensure that the new bulb is the same as the old one in terms of wattage and voltage. Otherwise, it will not fit into the hole.
Lastly and most importantly, switch off the power before you even touch the bulb fixture.
With that, it’s time for us to say goodbye. Get in touch with our team if you need any assistance replacing your pool light in Sydney.


